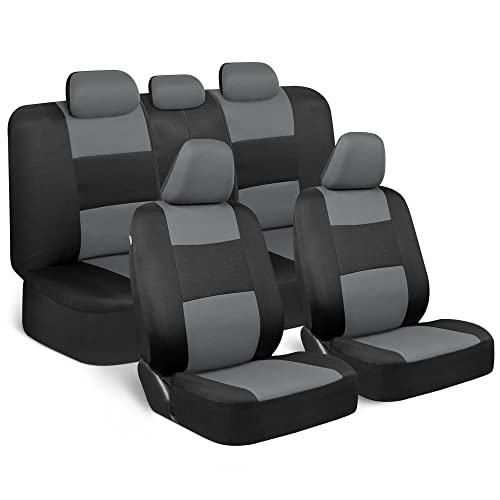
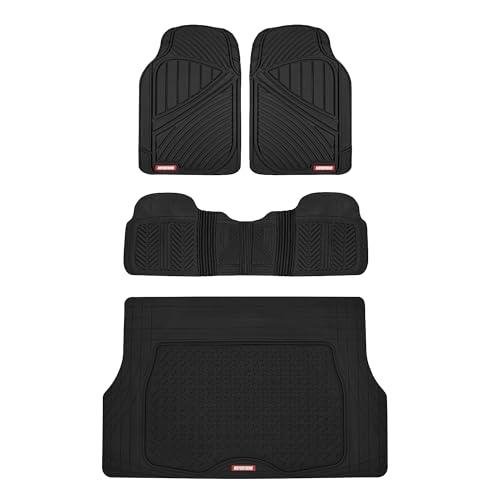
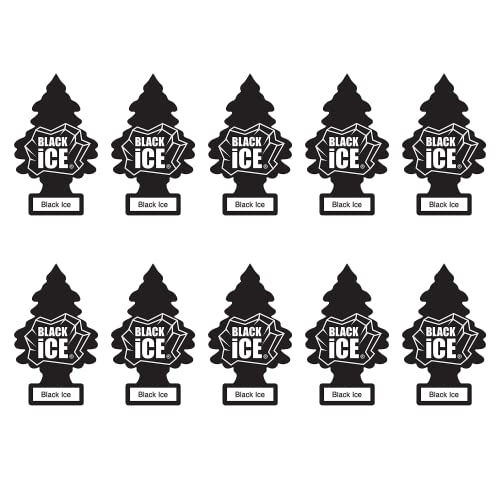
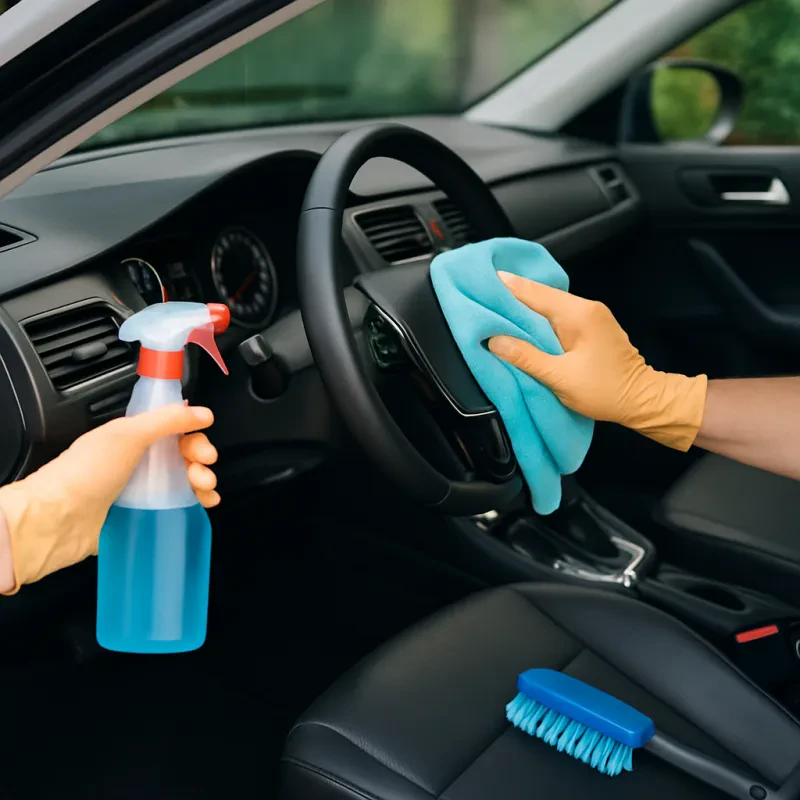
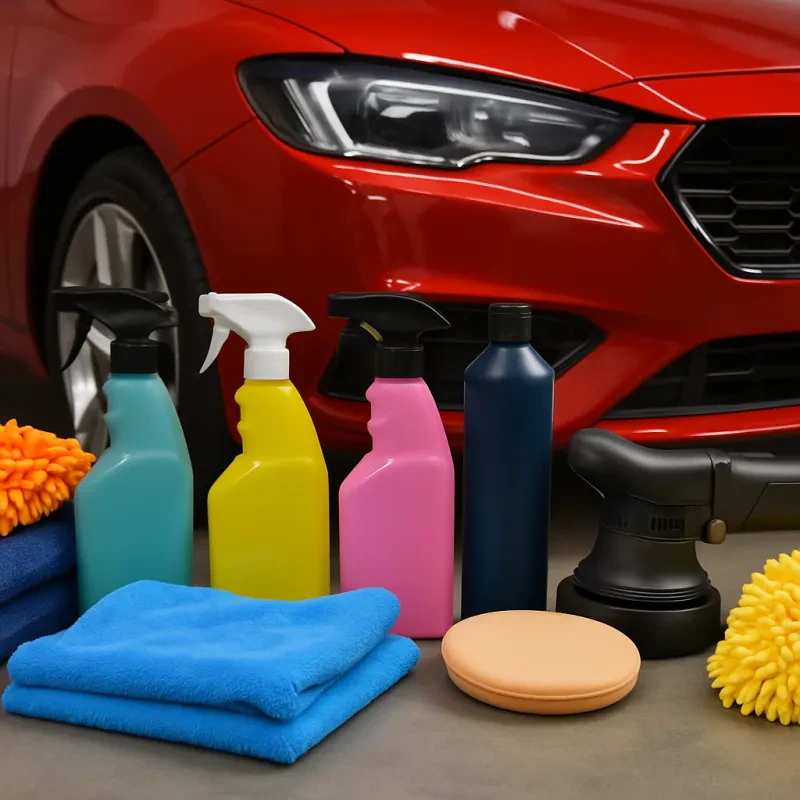
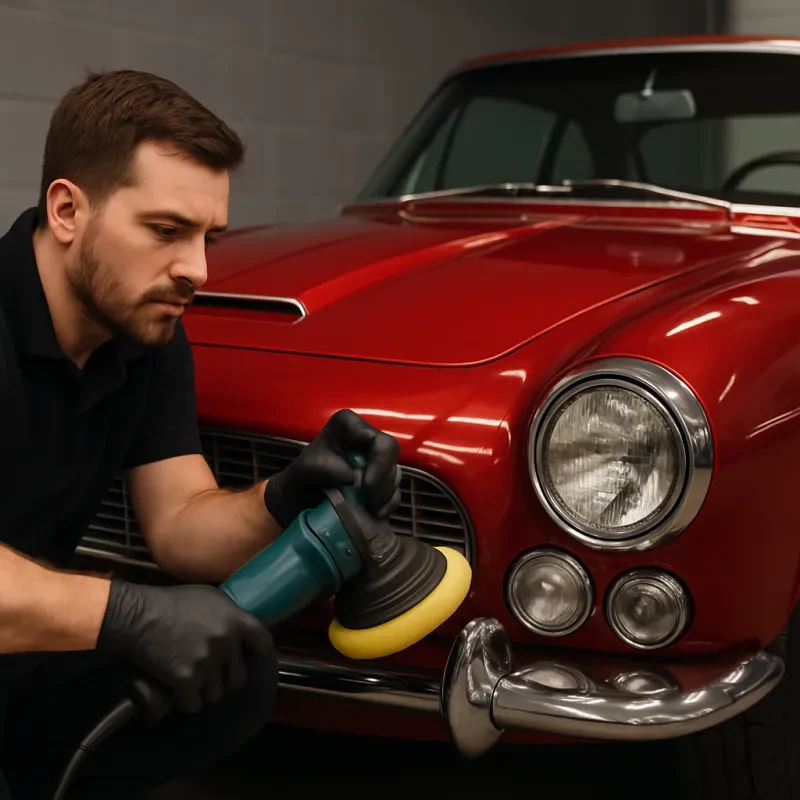
 Circular Polishing Guide
Circular polishers can provide exceptional results in a reduced amount of time, making them ideal for enthusiasts who want to get the most out of their effort. The main purpose of circular polishers is to remove paint imperfections, and professional detailers will have no problem operating a polisher safely. However, circular (rotary) polishers do emit more heat than a dual action (orbital) polisher and are therefore more likely to cause paint damage in inexperienced hands. If you are a beginner – try using a dual action polisher first. Dual action machines are easier to operate and they’re a good practice tool before moving on to circular polishing.
As always, we encourage you to watch professionals or experienced hobbyists in your area to learn as much as you can. The more you expose yourself to your art, the more details you will absorb. In conclusion, the circular polisher is a powerful tool that will require skill, but with great products and a steady hand, you can achieve the results of your dreams. In the section that follows, we will explain the circular polisher and its purposes.
What is a circular polisher?
A circular polisher can go by many names. Don’t be confused by references like ‘rotary polisher’ or ‘high-speed polisher,’ they are one and the same. The words ‘rotary’ and ‘circular’ refer to the spinning movement of the device itself. The evenness and repetition of this circular motion makes it possible to level the clear coat around a scratch - rendering it invisible.
Improper use of a machine polisher can actually burn the paint through overheating. If you’ve ever seen an unattractive, paintless swirl on a neighbors paint job, then you understand the damage an untrained hand can do to a fine automobile. The random motion of dual action polishers eliminates the risk of paint stripping, so once again, we urge amateurs to look into that section first.
There are several circular polishers you will hear the professionals chatting about in their garages, in magazines and in online forums: the Makita 9227C and the DeWalt 849. These names represent the best you can get, and are the efficient tools of the automotive elite. If you want to make a name for yourself with your detailing work, use these machines.
Use your polisher at a speed between 1000 and 1200 RPM. You must keep your polisher moving to avoid building up a concentration of heat in one spot. Try to keep the pad completely flush with the paint – this will distribute the friction throughout a larger area, dispersing the heat evenly throughout. Anyone new to rotary polishers should master the craft on scrap car panels, available at your local salvage yard. Extensive experience with a dual action polisher will also help prepare you for rotary use.
Remember, circular polishers are restoration tools. General polishing and buffing can be done with less risk with a dual action polisher.
What Are Circular Polishers Used For?
Circular polishers can remove any damage that does not penetrate below the clear coat. This includes scratches, oxidation, and paint swirls. While the machine is great at removing surface level blemishes, heavily damaged areas can cause the polisher to remove the entire clear coat. This mistake can cost you an entire paintjob. Know the limits of your tool and what to expect from it.
The circular polisher can be readapted for different jobs. The 5”, 6”, or 7” backing plates that are available for the polishers have a hook-and-loop material on one side to permit the mixing and matching of different foam pads. You may find yourself going through backing plates and foam pads for a while before finding the brands you are comfortable with. For a general list of our most popular pads and their general uses, refer to the section below. Note that they are in order from roughest to smoothest. Different companies offer foam pads in different colors and varieties. Refer to information about the specific pads you are using.
Cutting Pad: The roughest pad available, it will aid you in the removal of heavily oxidized, scratched, and swirled areas. Always use it in combination with swirl removers and other compounds to correct tough abrasions.
Light Cutting Pad: This is a basic all-purpose pad suitable for the removal of swirls and light oxidation. Use this pad with polishes and swirl removers. This is our most popular pad.
Polishing Pad: This is the pad to use for polish application because of its light cutting power. Use this pad with any pre-wax cleaner, microfine polish, or cleaner wax.
Finishing Pad: Use this pad to buff, or apply glazes and sealants.
Final Finishing Pad: The name may seem redundant, but it is the best pad to use during final buffing. You’ll find it very soft and suitable for applying a glaze.
Removing Scratches and Swirl Marks.
You have learned wealth of information regarding circular polishers, and you’re probably ready to try your hand at restoring a vehicle to its original finish. These steps are a guideline to help you get started. As you become more familiar with the machine, you will develop your own techniques.
I. Compounding
- Use the cutting pad or light cutting pad when applying a compound. Compounds may be labeled as such, or they may be labeled as swirl removers. Choose a light cutting or polishing pad and a fine swirl remover for light to moderate imperfections and a heavier cut swirl remover and cutting pad for moderate to severe blemishes. Always start with the light cutting or polishing pad and fine swirl remover. Upgrade to the cutting pad if necessary. Apply compound directly to the pad.
- Put the pad onto the surface to be compounded and spread the compound with the machine turned off. Set the machine at 1000 RPM and turn it on. Work in a horizontal figure eight pattern no more than 18” wide. Then make a vertical figure eight pattern over the area. Work the compound in well and keep the pad moving at all times.
- When your compound begins to dry or disappear, turn off the machine and lift it off the paint. Mist the surface with a mixture of equal parts water and isopropyl alcohol. Buff away the residue with a soft microfiber towel and inspect your results.
- If you are not satisfied, repeat the process with the same compound or a more aggressive compound. If you still see no results, upgrade to the cutting pad.
- It is not necessary to compound your entire vehicle. Work on the problem areas only and stay away from corners and edges where the paint is thinner.
Compounding may leave a light haze. This is normal. Polishing will remove the haze and restore the shine.
II. Polishing
Use a polishing pad with a finishing polish or a pre-wax cleaner. This step refines your paint after compounding and restores the shine to dull paint.
- It may be helpful to mist the pad with water or a quick detailer to make application easier.
- Apply polish directly to the surface. Spread the polish with the machine turned off. Press the pad flat on the surface and turn the machine on at 1000 RPM. Spread the polish in a figure eight pattern as above. Turn the machine off as the polish dries.
- Check your work by spraying the surface with plain water and wiping the area with a microfiber towel. If it is still hazy, continue polishing. If it is glossy, move on to finishing.
III. Finishing & Wax Application
* Because of the heat produced by a circular polisher, we recommend applying wax or sealant by hand to avoid unnecessary risk to your paint.
Use the finishing pad to apply your favorite wax or sealant.
Apply the product to your pad and work at a low speed. Cover the surface evenly. Depending on the product’s instructions, you may apply it to one section at a time or to the whole vehicle before buffing it off with a microfiber towel.
The circular polisher should have removed all surface scratches, swirls, and blemishes. If you have some remaining scratches, these will most likely require professional attention.
For general polishing and buffing, you may find it easier to use a dual action polisher. Read our guide on dual action polishing to see which machine best suits your needs and skill level.
|